How to set up Email in Android (IMAP)

This is how to How to set up Email in Android (IMAP)

Step 1. Find and select the Mail icon from the home or applications screen (as shown below)

Icon of an envelope with a visible corner of a letter sticking out, labeled "Mail." The background, inspired by web design in Horsham, features a dark textured pattern.

Step 2. Select account type – either (POP3 /IMAP)
(Please note: If you already have a mail account configured, click ‘Options’, then click ‘Accounts’ to create a new account.)

A dropdown menu titled "Choose a mail provider" is displayed, with options "Exchange ActiveSync" and "Other (POP3/IMAP)." A red arrow highlights the "Other (POP3/IMAP)" option, showcasing web design in Horsham's user-friendly interface.

Step 3. Complete the ‘Username’ and ‘Password’ fields with your details. Once done, select ‘Next’

A table provides instructions for email login credentials: "Username" (email address or configured username) and "Password" (mailbox-associated password). Below, arrows point to a filled email field and a password field with asterisks hiding the password, exemplifying sleek web design in Horsham.

Step 4. Select ‘IMAP’

Screenshot of an email account setup screen with three options: "POP3 account," "IMAP account," and "Exchange account." The "IMAP account" option is highlighted with a red rectangle. The top of the screen says "Add email account." Perfect for showcasing web design in Horsham.

Step 5. Enter the requested incoming ‘IMAP settings’ then click ‘Next’

A screenshot of the 'Incoming server settings' page for email setup, showcasing fields for 'User name,' 'Password' (masked), 'IMAP Server,' and 'Port.' Options for 'Security type' and 'Delete email from server' are also present, all designed with sleek web design in Horsham. A 'Next' button is at the bottom.

Step 6. Enter requested ‘Outgoing SMTP Settings’ then click ‘Next’

A table providing SMTP server settings for web design in Horsham. Rows include:

1. SMTP Server: smtp.affinitydns.com
2. Server Port: 587
3. Security Type: Set this as none
4. Require Sign In: Check this box
5. Username: Your email address or configured username
6. Password: Password associated with mailbox in control panel.
A screenshot of email account settings with red arrows pointing to various fields, including SMTP server, Port (set to 25), Security type (set to None), Require sign-in (checked), Username, and Password. The "Next" button is at the bottom. This example is commonly used in web design in Horsham.
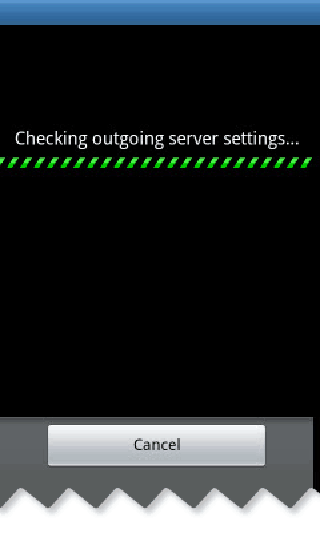
A phone screen displaying a message 'Checking outgoing server settings...' with a loading progress bar, designed with sleek web design in Horsham. There is a 'Cancel' button at the bottom.

Step 7. Your Android device will now automatically check your settings with the server.

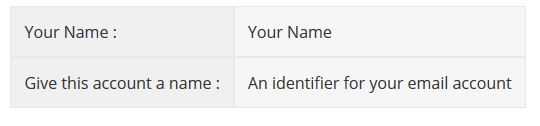
Step 8. Enter Your Name and an Account Name then click ‘Done’

A section of a web form designed in Horsham features two fields. The first field is labeled "Your Name" with an example value of "Your Name". The second field is labeled "Give this account a name" and its example value is "An identifier for your email account".
Email setup screen displaying fields for "Email Account" and "Your name (Displayed on outgoing messages)" with a "Done" button at the bottom. A red arrow points to the "Done" button, indicating it's the next step to complete the setup process. Streamlined web design in Horsham ensures ease of use.